Email format error
Email cannot be empty
Email already exists
6-20 characters(letters plus numbers only)
The password is inconsistent
Email format error
Email cannot be empty
Email does not exist
6-20 characters(letters plus numbers only)
The password is inconsistent

Alkaline battery & Button cell manufacturing process-News

No Mercury Added Battery-Interesting Making Process

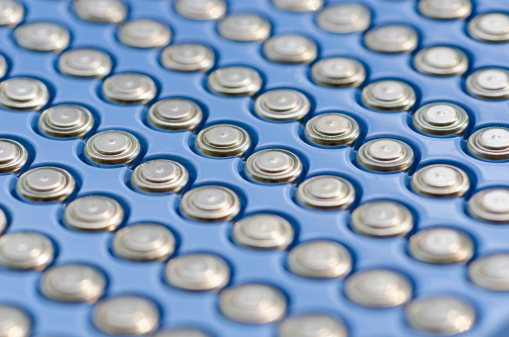
Here are some important things to know about mercury-free button cell batteries:
How they work of mercury free button cell battery.
Mercury-free button cell batteries are made with non-toxic materials, such as zinc, silver oxide, and lithium, to generate power. They work in the same way as traditional button cell batteries, by using a chemical reaction to create an electrical charge.
Environmental benefits of mercury and cadmium free batteries.
Mercury-free button cell batteries are much safer for the environment than their mercury-containing counterparts. When discarded, they do not release toxic mercury into the soil or water supply, which can harm wildlife and humans. In addition, many manufacturers are using recycled materials in their batteries, reducing the need for new resources.
Safety benefits: Mercury-free button cell batteries are also safer for consumers to handle and use. If a mercury-containing battery is damaged or punctured, it can release toxic fumes that are harmful if inhaled. Mercury-free batteries do not pose this risk, making them a safer choice for households with children or pets.
Availability: Mercury-free button cell batteries are widely available and can be found at most retailers that sell batteries. They are available in a variety of sizes, including the commonly used LR44 and CR2032 sizes.
Cost: Mercury-free button cell batteries are typically more expensive than their mercury-containing counterparts. However, the cost is generally not prohibitive, and the benefits of using a safer and more eco-friendly battery are well worth the extra expense.

Interesting process of making mercury free batteries
Step 1: Gather Materials:
The first step in making a mercury-free battery is to gather the necessary materials. You will need:
Copper wire
Zinc strip
Cardboard
Saltwater solution
Multimeter
Step 2: Prepare the Materials:
Cut the cardboard into small squares, about 1 inch by 1 inch. Cut the copper wire and zinc strip into strips that are about 3 inches long. Make sure to clean the copper wire and zinc strip with sandpaper to remove any oxidized layer that could reduce the performance of the battery.
Step 3: Assemble the Battery:
Take one piece of cardboard and wrap the copper wire around it. Then, wrap the zinc strip around the copper wire, leaving a small space between the two. Repeat this process with the other pieces of cardboard, copper wire, and zinc strip.
Step 4: Make the Saltwater Solution:
To make the saltwater solution, dissolve one tablespoon of salt in a glass of warm water. Stir the solution until the salt is completely dissolved.
Step 5: Add the Saltwater Solution:
Place one of the cardboard wrapped electrodes into the saltwater solution, making sure that the copper wire is fully submerged. Place the other electrode in the solution as well, leaving a small gap between them. Leave the battery to sit for a few minutes to allow the chemical reactions to take place.
Step 6: Test the Battery:
Use a multimeter to measure the voltage of the battery. If the voltage is high enough, you can use the battery to power a small LED light or other low-power devices.

